The Black Walnut Guitars
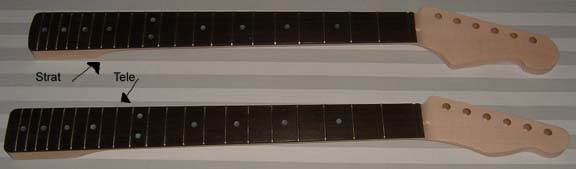
Eventually, this page will encompass 2, maybe 3, guitars with black walnut tops. Each piece of wood is 13/16" thick. There is a bit of bow, but not much. Each piece will yield 2, maybe 3, tops that can be laminated to a backing body. The first two pieces will go to a Strat and a Tele. If I get a third bodies worth, it will go to a dual HB Tele. Tommy at USA Custom Guitars will be doing the body and neck work for me.
January 20, 2004
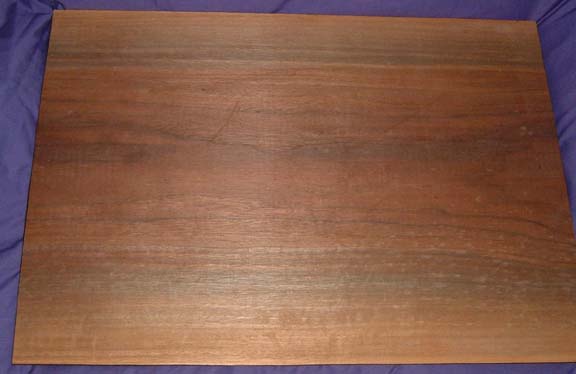
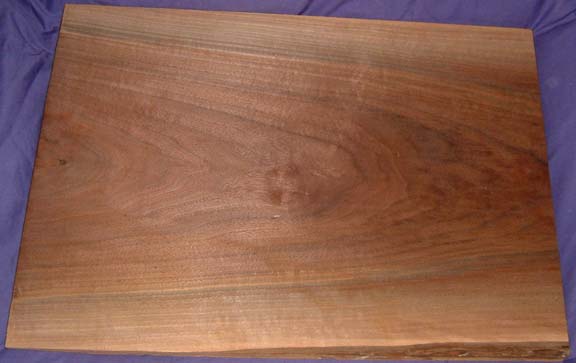
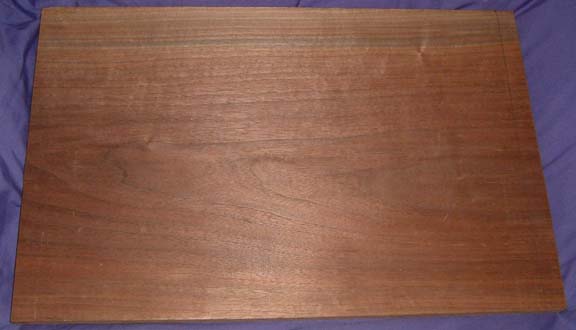
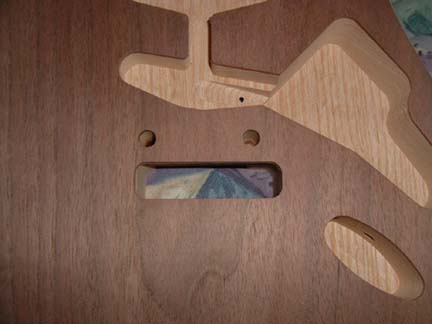
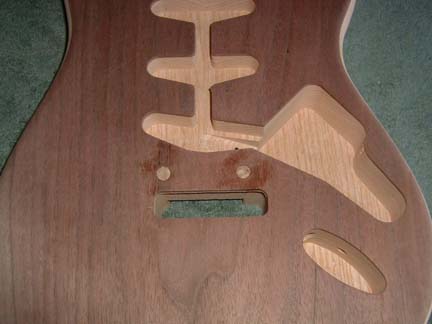
Here are the "before" pix. Just raw hunks of wood. I think that #2 is my favorite, so I will start with that one.
#1
#2
#3

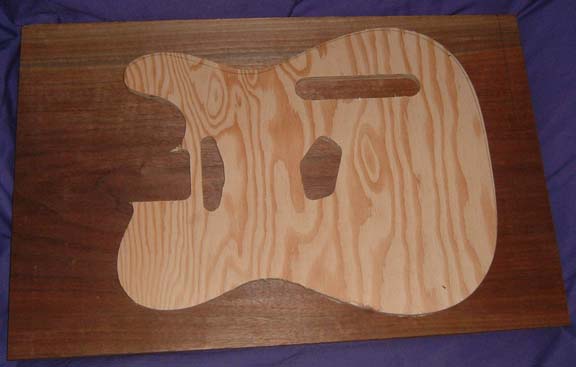
#4
#4 w/Tele template
************************************************
This is sort of what I want to end up with. I can not get the exact color correct. But, the pickguard will be B/W/B. The hardware chrome. The fretboard ebony with MOP dots. The straight Tele is pretty close color wise. A couple of things to note on the guitars. First, the Fralin Blues neck PUP is black not chrome. And the Virtual Tele sw does not have a black HB, which is what I would be using.


The next set is all black hardware and stained neck.


************************************************
Feb. 18, 2004
I have the pickups for both, along with the pots and the Strat pickguard. So I mounted the PUPs in the PG. They are the Fralin "Special Hot" PUPs. A little more vintage. And the Fralin Blues for the Tele. One change on the Strat is that I like the white PUP covers with B/W/B PG. So I think that I will use white knobs also. But still chrome. This is sort of what it will look like. The B/W/B PG looks better than this does.

************************************************
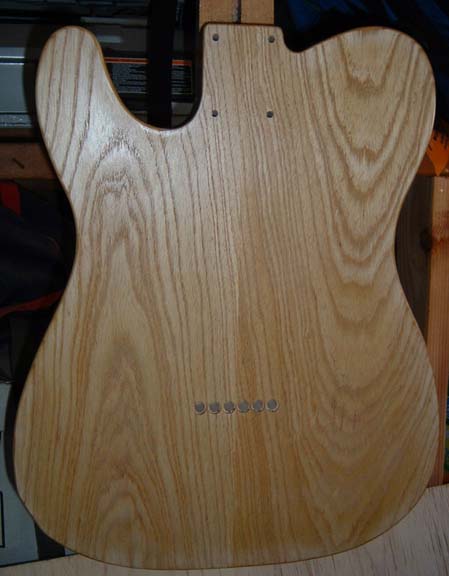
Apr. 1, 2004
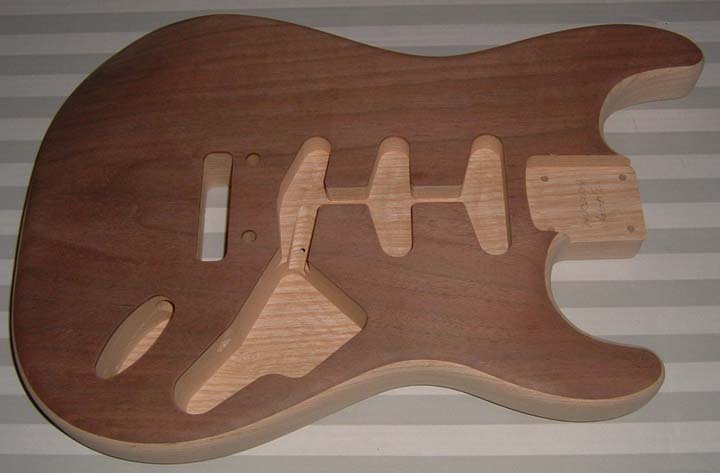
I finally got home and the bodies & necks got done & shipped to me. This is straight out of the box, so sanding, cleaning, or anything else. I think that the pix are self explanatory. Yee-hah!

************************************************
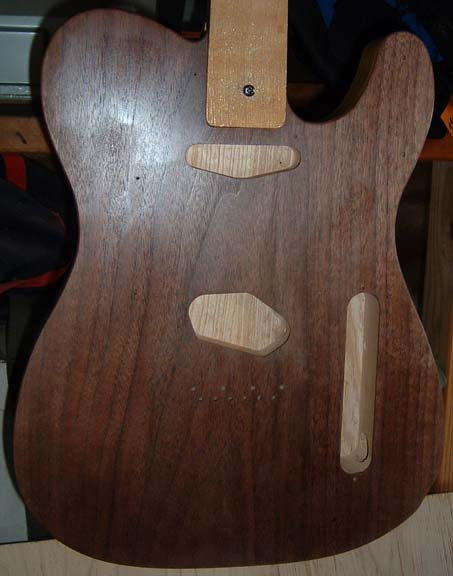
Apr. 7, 2004
Things have been happening in a hurry now.
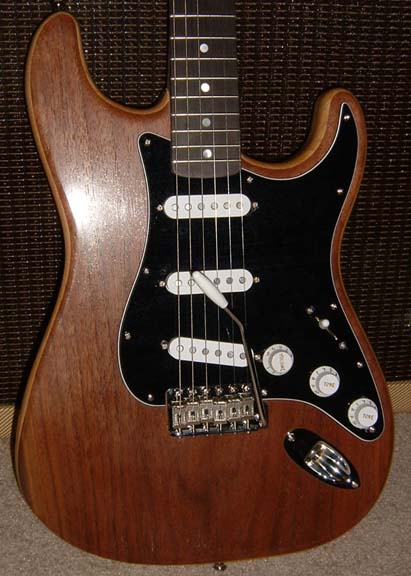
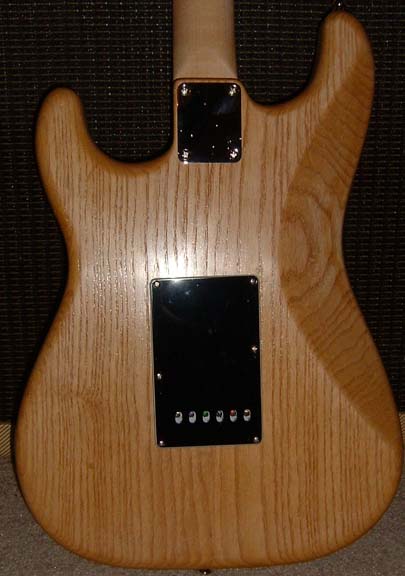
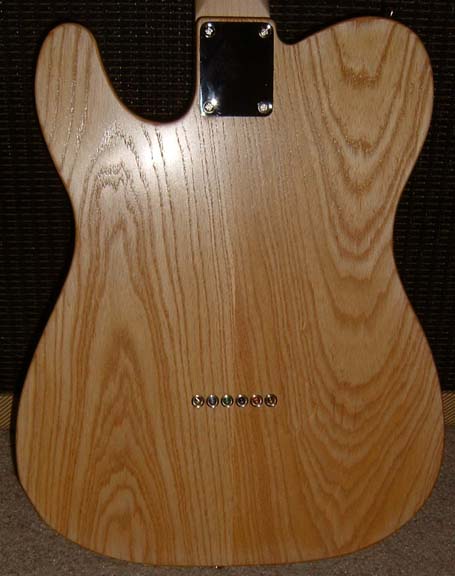
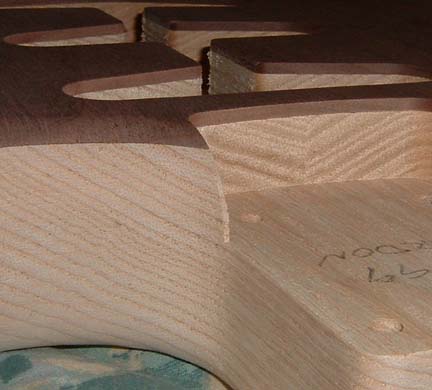
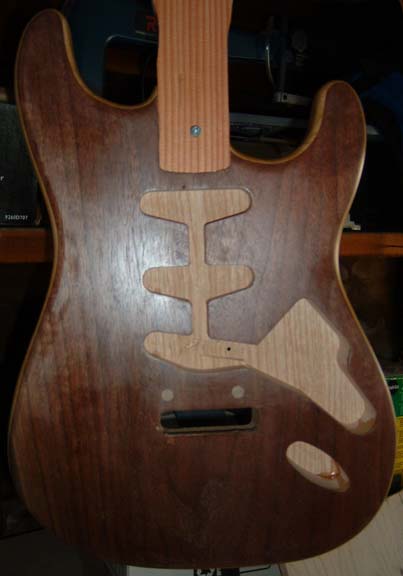
This is the Strat body, showing the thinness of the walnut. It is about 1/8" thick, and then rounds over on the edge to paper thickness. Very delicate stuff.
One challenge I have had is that between my luthier, myself, and the folks at USACG, I wanted the Strat body routed for a 6 hole vintage Trem. Instead, I said 2 hole Standard American. So I got the 2 hole. Tommy quized me just to make sure. He gave me what I asked for. But my luthier and I did not communicate real well. So I plugged the holes with some dowels. The dowels are covered by the Trem body, so no problems there.
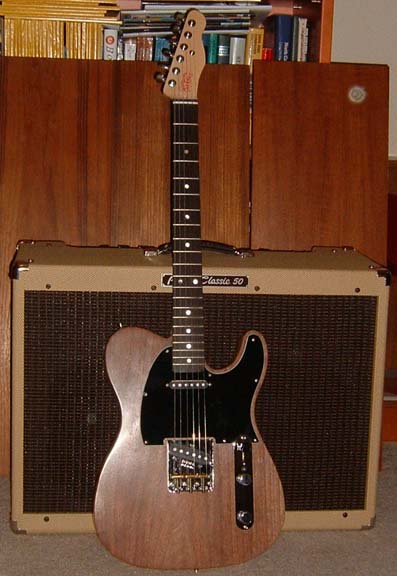
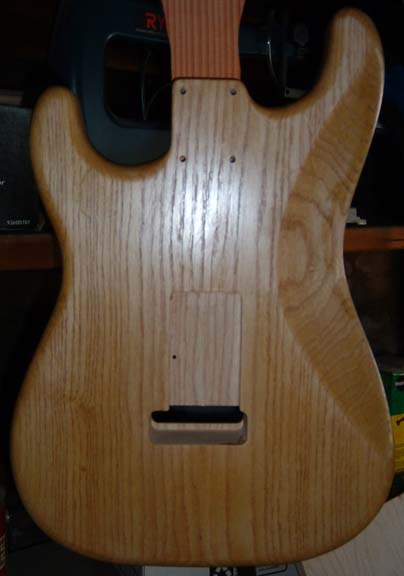
This is what the Tele body looks like now, with a first layer of nitro. The camera makes the Walnut look like Rosewood. In reality, it is not that dark. Also, the glue line in the Ash shows up real well in the photo, but not in real life.
And this is the Strat. The caveats from above apply here as well.
************************************************
Apr. 8, 2004
What the well dressed neck is wearing for 2004. Very stylish and colorful.
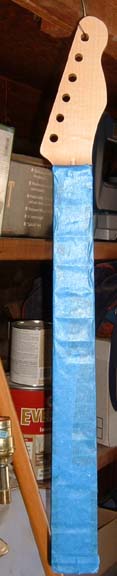
Actually, it is blue painters tape to keep the nitro off the ebony fretboard.
*************************************************
Apr 20, 2004
After letting the bodies dry for two weeks, I went to sand out the Tele and..... Not enough finish. I have to respray both bodies. Argh. But a minor one. It is not an end of the world issue, just a pain in the rear.
**************************************************
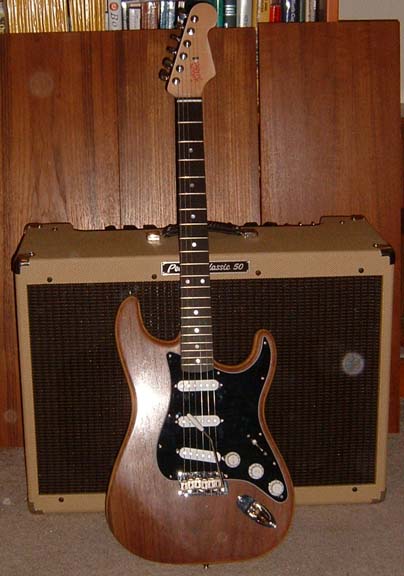
May 10, 2004
So I let the bodies sit and sit and sit. Very tough. I am very impatient. But I let them dry. And the Strat is DONE! Finally. I did spray some more nitro onto the Strat before sanding it out, and it seems to have worked just fine.
A comment: My luthier suggested that I use ReRanch nitro rather than StewMac, whom I have been using. To be blunt, I prefer the StewMac. It covers better than the ReRanch. I don't know why. I suspect that they get the cans of Nitro from the same source. The cans are the same shape & size. The weight is about the same. The labels are different. And the ReRanch comes with two nozzles, wide and narrow angle spray, while the StewMac comes only with wide angle spray nozzle. I can only surmise that the mixtures are some how different when spec'd by ReRanch and StewMac, respectively.
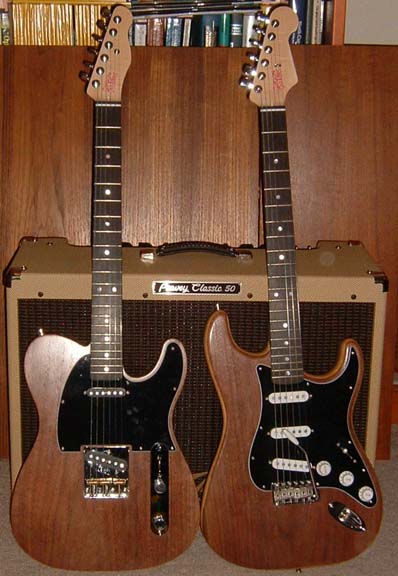
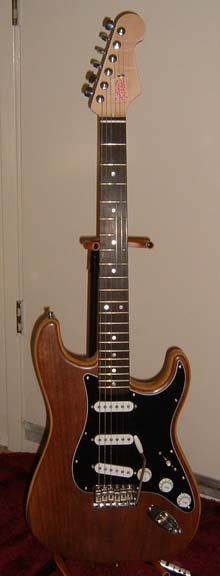 In all its glory.
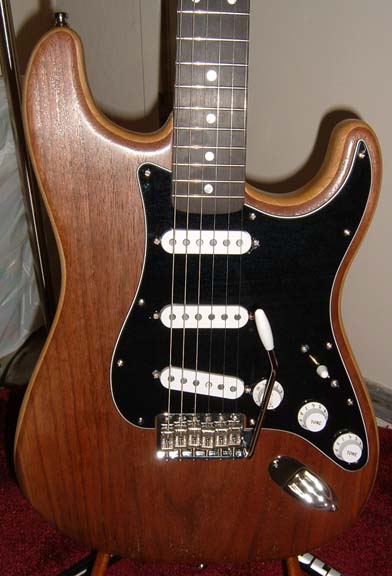 Close up guitar porn. As you can see, I got the vintage 6-hole trem in.
I just filled and redrilled the holes by putting the trem in the route and going
for it. It is in straight, etc.
Close up guitar porn. As you can see, I got the vintage 6-hole trem in.
I just filled and redrilled the holes by putting the trem in the route and going
for it. It is in straight, etc.
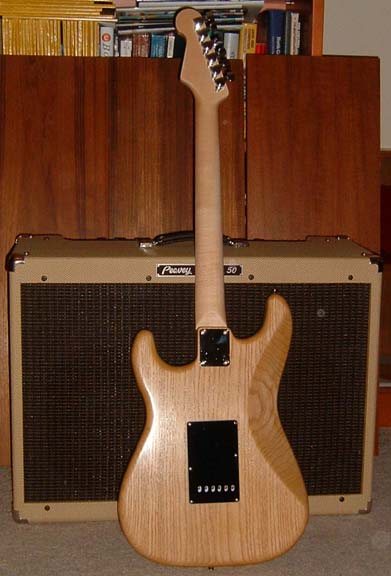
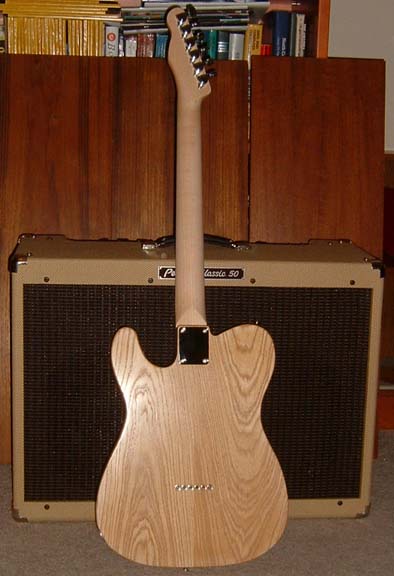
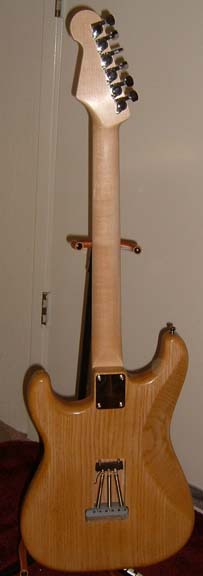 The back.
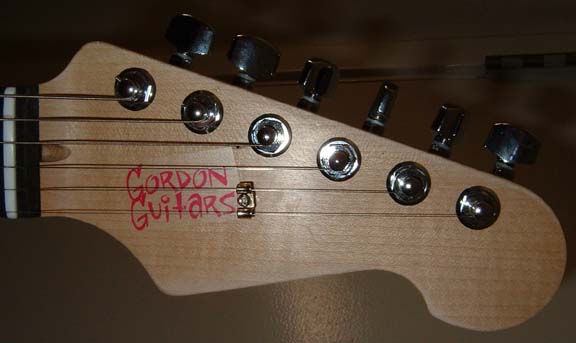 The head stock. What does not show real well in the photo's is that the nitro
on the neck was thin too, and I wore through it in a few places while finishing it.
My story: I reliced the neck, that's my story, and I am sticking to it.
The head stock. What does not show real well in the photo's is that the nitro
on the neck was thin too, and I wore through it in a few places while finishing it.
My story: I reliced the neck, that's my story, and I am sticking to it.
I should get the Tele back this week with a properly done nut.
******************************************************
May 18, 2004
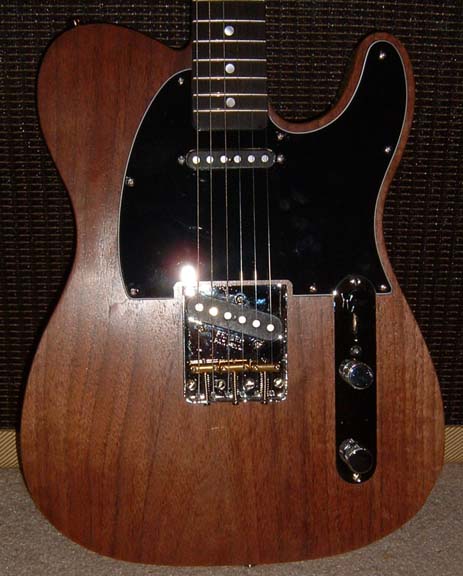
I finally built a "normal" Tele, not counting the fancy top. And my first Strat was pretty normal, not counting the top. So I learned something to share.
Tele's break down into 4 major sub-assemblies. 1) The neck with tuners installed and the nut ready for installation. 2) The control plate with switch and pots installed and pre-wired. 3) The pickguard, with or without the neck PUP. 4) The body, with the bridge and PUP installed. Once you have this done, you can put a Tele together in about 1.5 hours, maybe less.
Strats break down into 3 major sub-assemblies. 1) Neck with tuners and nut as above. 2) The pickguard with PUPs, switch, and control pots installed and wired. 3) The body with the bridge installed. Again, about 1.5 hours to assemble the critter, maybe less.
I am currently waiting to get a switch tip custom made for the Tele.
******************************************************
May 20, 2004
I got impatient and, rather than waiting, I put on a standard black Tele "Top Hat" tip. We'll have to see about the custom one.
So here are the photo's for BOTH guitars. I put them in pairs, same view of each guitar, side by side.