Feb. 21, 2008
So last week I decided to strip my ugly ASAT III body and redo it, in black. And to use all black hardware.
So the first thing is to strip the existing polyurethane paint, because it’s ugly and I don’t want it on the guitar. So like I did with the SC-2, I soaked the ASAT in CitruStrip, and it seems not to have made a damn bit of difference after 1 week.
One thing I did learn is that while CitruStrip will not remove poly, it will soften wood putty. Argh.
So next, I go hunting for a heat gun, to do it that way.
And in the process, I found a guy on eBay selling off Broadcaster parts. I was going to find somebody to redo my existing bridge & control plate in black. Instead, I purchased them already done. All I have to do is swap out the 3 way switch for a 5 way switch. That’s easy.
Heating & scraping poly is a bit of a dirty job. I think that I will need to use some wood putty to fill in the scrape marks. It takes some time and patience.
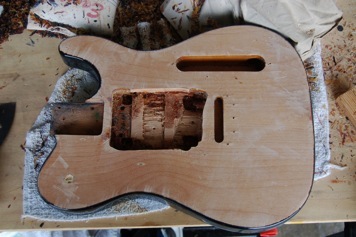
When I bought the body, it already had the “LP” style switch hole in it. And since the CitruStrip softened it, I just knocked it out.
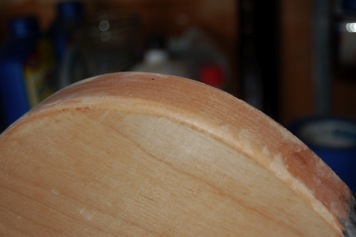
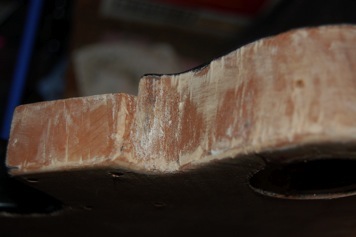
The front & back are much easier to do, being flat. The sides & edge are more difficult because they are not exactly flat.
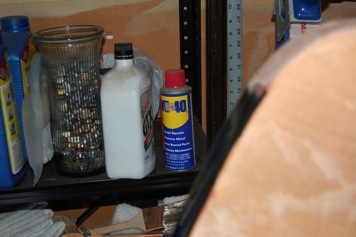
And for those who are curious, Yes, there is a can of WD-40 available just in case.
Feb. 26, 2008
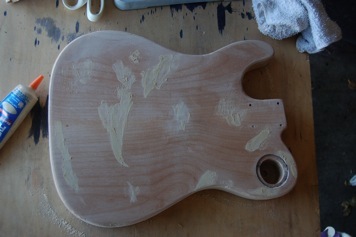
After several days of “a little & a little there”, I got the body stripped. This is not a task to be recommended to the casual refinishers. Aside from the smell, getting the paint from inside the horn is pretty tough. I was working in such close proximity to the heat gun that I put on work gloves.
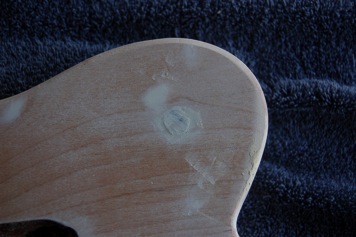
The next step is some light sanding on the body. There are a good many tool marks, some of which, maybe most, will need to be filled with wood putty. Hopefully some light sanding will take care of many of them. After filling, some more sanding and then painting, and reassembly. Perhaps another months worth of work.
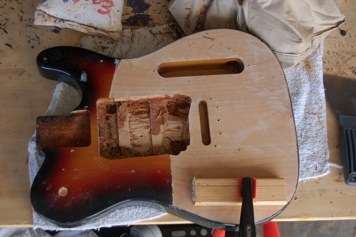
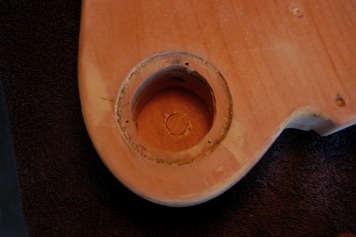
One big problem is dealing with the big hole left over from somebody decided to install a Les Paul style switch.
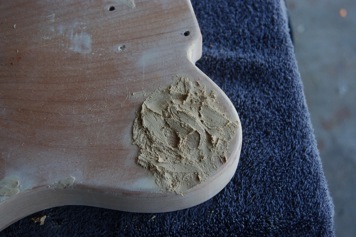
So I put a plug it and covered it with wood putty.
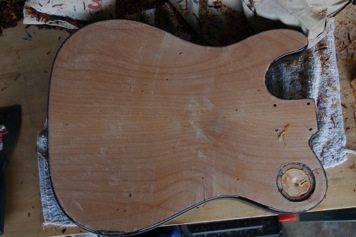
From the backside.
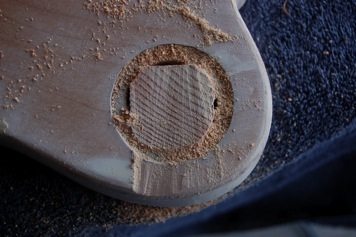
I found a square piece of wood to put in the hole. I rounded off the edges a bit and forced it in, trying for as tight a fit as I could manage. In this pic, you will also see why I do not do work for other people, for $.
Then I filled the last remaining bit with more wood putty. From my perspective, I had no good alternatives here, so I went with what I know. I expect that in the end, it will leave a visible mark or ring.
Now I just need things to dry so I can apply the sander to it. I have the new tuners on order, so all I left to do after sanding is spraying.
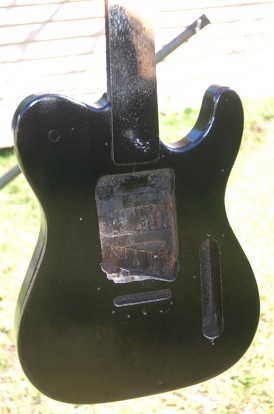
So I sanded and filled and scraped, and repeated. And then I started spraying. I started with a light coat of clear gloss, then a heavy coat of black, and then a light top coat of clear gloss. For me, the next part is the hard part. Waiting 2 or more weeks for it to dry so that I can final sand and re-assemble, etc.
If you look, you can see the big holes that I filled it. So it won’t look great. On the other hand, this thing was rough to begin with, so I don’t feel too bad.
To see the rest, click here